Recreate Classic Dilly Bars: Crafting DIY Dairy Queen Flavors at Home
There's a certain magic to a Dairy Queen Dilly Bar. That crisp, chocolatey shell giving way to creamy vanilla ice cream is a quintessential summer memory for many, especially those of us who grew up in sun-drenched locales like Arizona, where ice cream treats are a year-round necessity. The good news? You don't need a drive-thru to relive those cherished moments. Crafting your own homemade Dilly Bars is not only entirely achievable but also incredibly rewarding, allowing for endless customization and nostalgic delight.
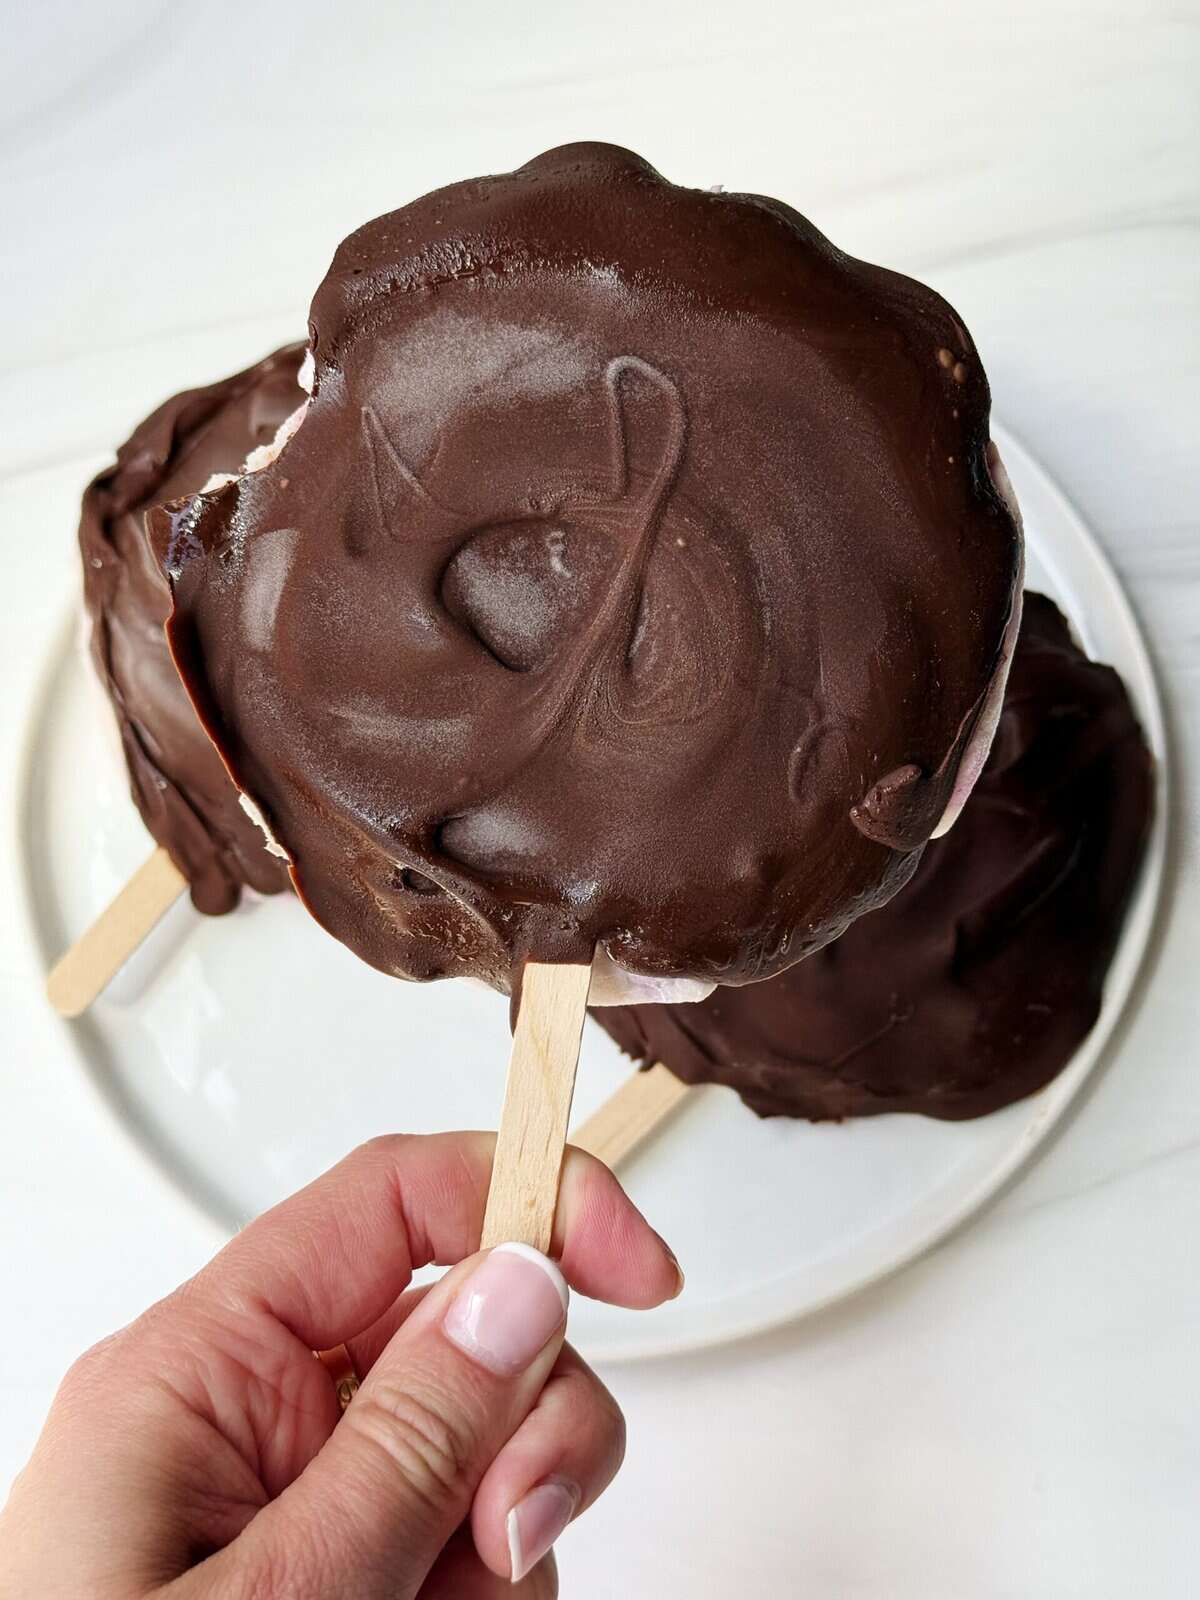
The journey to recreating these iconic treats often begins with a flash of inspiration – perhaps spotting a bag of cherry chips at the grocery store, sparking a vivid memory of a DQ worker skillfully plunging vanilla soft serve into a glistening topping. Suddenly, the dream of replicating that perfect snap and creamy interior at home seems not just possible, but imperative. Whether you're a purist craving the classic chocolate, cherry, or butterscotch, or an adventurous chef looking to innovate, making your own Dilly Bars is an enjoyable project for the whole family.
Why Make Your Own Homemade Dilly Bars? Beyond the Nostalgia
While the sentimental pull of childhood treats is undeniably strong, there are many compelling reasons to embark on your own homemade Dilly Bar adventure:
- Unleash Your Inner Chef: Customization Galore: The beauty of DIY lies in the freedom to choose. While Dairy Queen offers three classic flavors – chocolate, cherry, and butterscotch – your kitchen knows no such limits. Imagine dark chocolate with sea salt, white chocolate with raspberry swirls, or even a spicy chili-chocolate coating. You can experiment with different types of vanilla ice cream, or even venture into other ice cream flavors like mint chip or strawberry. Want sprinkles? Go for it! Nuts? Absolutely!
- Cost-Effectiveness: Regular trips to the ice cream parlor can add up, especially when feeding a whole family. Making a batch of homemade Dilly Bars is often significantly more budget-friendly, allowing you to enjoy more of your favorite treat without breaking the bank.
- Quality Control and Dietary Needs: When you make it yourself, you control every ingredient. This is particularly advantageous for those with dietary restrictions or who prefer to use organic, natural ingredients. You can opt for high-quality chocolate, natural flavorings, and even explore healthier bases, as we'll discuss later.
- A Fun Family Activity: The process itself is a fantastic way to spend quality time together. From spooning ice cream to dipping and decorating, kids and adults alike will love getting involved in creating their own personalized frozen delights.
Gathering Your Dilly Bar Arsenal: Essential Ingredients & Tools
Before you dive into the delightful world of homemade Dilly Bars, you'll need to gather a few key ingredients and tools. Think of this as preparing your Dilly Bar war chest!
The Core Ingredients
- Vanilla Ice Cream: This is the classic foundation. A good quality, firm vanilla ice cream provides the perfect canvas for your chosen coating. Its neutral flavor allows the shell to shine.
- Melting Chips/Candy Melts:
- Chocolate: Semi-sweet, milk, or even dark chocolate chips work wonderfully. For a "magic shell" effect, you'll often combine these with a touch of coconut oil.
- Cherry: Specialty cherry-flavored candy melts or chips are ideal. If you can't find them, you can create a similar effect by melting white chocolate chips and incorporating a small amount of cherry extract and red food coloring.
- Butterscotch: Butterscotch chips are readily available and melt into a delightfully rich, caramel-like coating.
Pro Tip: For a truly vibrant cherry or other colored coating, candy melts are often easier to work with than trying to color chocolate chips.
Essential Equipment
- Pie Pan or Baking Sheet: For spreading and hardening your ice cream base.
- Round Cookie Cutter: To achieve that classic Dilly Bar shape. A Pampered Chef measuring cup (the larger sizes) or even a sturdy drinking glass can work as a substitute if you don't have a dedicated cutter.
- Popsicle Sticks or Tongue Depressors: Crucial for holding your bars.
- Microwave-Safe Bowls: For melting your chips.
- Wax Paper or Parchment Paper: To line your baking sheets and prevent sticking during freezing.
- Spatula or Spoon: For spreading and stirring.
- Shallow Dish or Container: For dipping the ice cream bars into the melted coating.
- Warm Knife: A handy tool for neatening edges after the coating has set.
Crafting Your Classic Homemade Dilly Bars: A Step-by-Step Guide
Patience is perhaps the most crucial ingredient in this recipe. While the steps aren't complicated, they involve several freezing intervals to ensure your bars are perfectly solid and your coating sets beautifully.
- Prep the Ice Cream Base:
Start by spreading your vanilla ice cream evenly into a pie pan or onto a parchment-lined baking sheet. Aim for a consistent thickness, roughly 1/2 to 3/4 inch. Cover tightly with plastic wrap and place it in the freezer for at least 1 hour, or until the ice cream is very firm. This initial hardening is vital to prevent the ice cream from melting too quickly when you cut and handle it.
- Shape and Stick 'Em Up:
Once the ice cream is sufficiently firm, use your round cookie cutter to cut out individual circles. For best results, dip your cutter in warm water between each cut to ensure clean edges. Gently insert a popsicle stick into the center of each ice cream circle. Arrange these on a parchment-lined baking sheet, ensuring they don't touch. Return them to the freezer for another 30 minutes to an hour. This re-freezing step solidifies the ice cream around the stick, making them much easier to handle during the dipping phase.
- The Magic Shell: Melting and Dipping:
While your ice cream bars are firming up, prepare your coatings. Separate your chosen chips (chocolate, cherry, butterscotch) into individual microwave-safe bowls. Melt them in short bursts – typically 30 seconds at a time – stirring vigorously after each interval. Continue this until the chips are completely smooth and liquid. For a true "magic shell" effect with chocolate chips, you'll want to add a tablespoon or two of coconut oil per cup of chips; this helps create that signature hard, snappy coating when it hits the cold ice cream.
Transfer the melted coating into a shallow dish or a tall glass (depending on your dipping strategy). This ensures an even coating. Now, the fun (and fast!) part begins. Remove a few ice cream bars from the freezer at a time to minimize melting. Holding a bar by its stick, swiftly dip it into the melted coating, turning to cover all sides. You can also pour the coating over the bar using a spoon. Work quickly, as the cold ice cream will make the coating set almost instantly.
Expert Tip: If you want to add the classic Dilly Bar swirl, simply drizzle a small amount of contrasting melted coating (e.g., white chocolate on a chocolate bar) onto the bar immediately after dipping, while the main coating is still slightly wet. For more in-depth tips on achieving that perfect, even coating every time, be sure to check out our guide on Master Homemade Dilly Bars: Tips for Perfect Coating.
- The Finishing Touches and Freezing Frenzy:
Once coated, immediately place the bars back onto a clean parchment-lined baking sheet and rush them back into the freezer. This rapid freezing is crucial for the coating to set properly and for the ice cream interior to re-solidify. Allow them to freeze for at least 2 hours, or even overnight, to ensure they are rock-hard and ready to enjoy.
If your bars have excess hardened coating around the edges, don't worry! For a neater, more "Dilly Bar" look, you can carefully trim the edges with a warm knife. Simply run a knife under hot water, dry it, and then gently slice away any irregular excess shell. It works like magic!
Elevating Your Homemade Dilly Bar Experience: Beyond the Classics
Once you've mastered the basic technique, the world of homemade Dilly Bars truly opens up. Don't be afraid to experiment!
Exploring Healthier Alternatives
For those looking for a guilt-free indulgence, the concept of a healthier Dilly Bar is a game-changer. While they may not taste *exactly* like the original sugar-laden version, they can be a fantastic "fake-out," especially when you nail that satisfying mouthfeel. Many creative cooks on platforms like Instagram have embraced this idea, often creating "healthy Dilly Bars" or "Buster Bars" with a wholesome twist.
The secret often lies in a Greek yogurt-based "ice cream." Imagine a blend of thick Greek yogurt (like Fage for its consistency), natural peanut or cashew butter (cashew butter offers a milder, vanilla-like flavor), a touch of maple syrup for sweetness, stevia for sugar reduction, and a hint of vanilla extract. This base is dolloped onto parchment, shaped, and frozen with a stick, similar to the classic method. For the shell, a mixture of cocoa powder, coconut oil (which hardens beautifully when cold), maple syrup, and sea salt creates a delicious, lower-sugar chocolate coating.
This approach allows for a high-protein, lower-sugar treat that satisfies that Dilly Bar craving. For a detailed recipe and more insights into crafting these nutritious alternatives, make sure to read our article on Healthy Homemade Dilly Bars: Low Sugar, High Protein Recipe.
Creating your own homemade Dilly Bars is more than just a recipe; it's an experience. It's a journey back to childhood, a creative outlet, and a delicious way to beat the heat. With a bit of patience and these tips, you'll be delighting friends and family with your custom-crafted frozen treats in no time. So, stock your freezer, gather your ingredients, and get ready to plunge into the sweet satisfaction of DIY Dilly Bars!
